
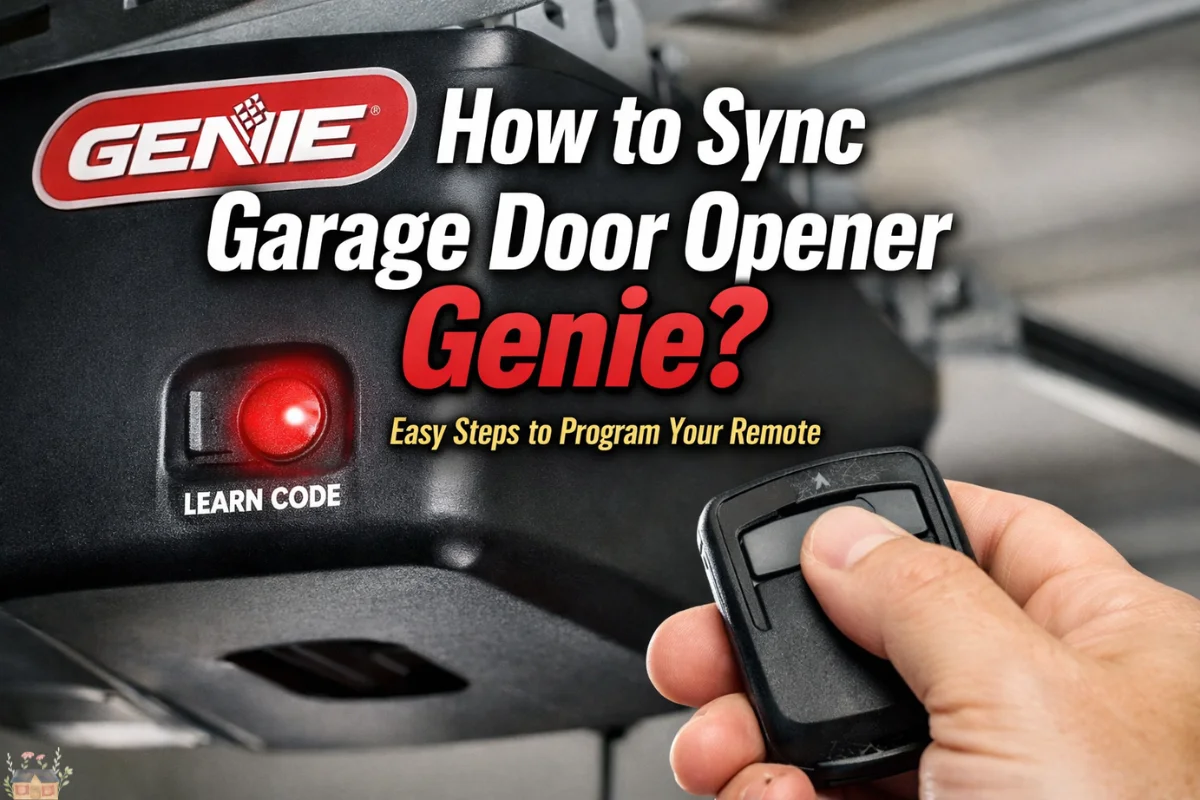
Programming a garage door remote should be a five-minute task, yet it often turns into an afternoon of frustration. If you are standing in your garage wondering how to sync garage door opener Genie units to your remote, keypad, or vehicle, you are likely dealing with one of several different technologies Genie has released over the decades.
Whether you have a brand-new smart opener or a vintage screw-drive model from the 90s, this guide provides the precise technical steps required to establish a secure connection. Beyond the basics, we will explore the “why” behind the technology—from Intellicode rolling codes to frequency interference—ensuring your home remains secure, and your entry remains seamless.
Understanding Genie’s Radio Frequency Technology
Before reaching for the ladder, it is vital to identify which “language” your Genie opener speaks. Syncing is essentially a handshake between a transmitter (your remote) and a receiver (the motor head).
1. Intellicode® I vs. Intellicode® II
Most Genie models manufactured after 1995 use Intellicode I. This is a rolling code system that selects a new code from billions of combinations every time the button is pressed. In 2011, Genie introduced Intellicode II, which offers enhanced encryption. Modern “Universal” Genie remotes are designed to be backwards compatible with both.
2. Fixed Code (Dip Switches)
If your opener was made before 1995, it likely uses physical “Dip Switches”—small toggle switches numbered 1 through 9 or 12. These do not have a “Learn” button. Syncing these requires matching the physical switch positions on both the remote and the motor head.
3. Aladdin Connect® (Wi-Fi)
Modern Genie units often come with integrated Wi-Fi. While these still use traditional remotes, they also sync via a smartphone app.
Read Also: LiftMaster Garage Door Opener Manual Guide
Preparation: Pre-Sync Checklist
To avoid the most common pitfalls of the syncing process, perform these three checks first:
| Component | Checkpoint | Action |
|---|---|---|
| Power | LED Status | Ensure the motor head has a solid or blinking status light. |
| Battery | Voltage | Use a fresh CR2032 or AAA battery. Weak batteries may trigger the “Learn” mode but fail to complete the handshake. |
| Safety Sensors | Alignment | If the infrared “eyes” at the bottom of your door are blocked, some Genie models will refuse to sync new remotes. |
Step-by-Step Guide: How to Sync Garage Door Opener Genie Remotes
The process varies slightly depending on whether your opener has a round “Learn” button or a set of program buttons with a screen/LED console.
Method A: Units with a Circular “Learn” Button
Common on models like the Stealth, Excelerator, and older ProMax series.
-
Locate the Button: Remove the light cover on the motor head. Look for a small, circular button labeled “Learn Code.” It is often located near the antenna wire.
-
Enter Programming Mode: Press and release the Learn Code button. A red LED will begin to blink. You now have 30 seconds to complete the sync.
-
Sync the Remote: Stand at least five feet away from the motor. Press the button on your remote once. The LED on the motor will stop blinking and stay solid.
-
Confirm: Press the remote button a second time. The LED will turn off.
-
Test: Press the remote button a third time. The door should move.
Method B: Units with Square Program/Set Buttons
Common on newer models like the SilentMax, MachForce, and Chain Drive 750.
-
Initiate: Press and hold the Program/Set button (usually a square button) until the round LED turns blue, then release it.
-
Transition: The long purple LED will start blinking.
-
Sync: Press and release the button on your remote. The blue LED will turn solid.
-
Finalize: Press the remote button again. Both LEDs on the motor head will turn off.
-
Activate: Press the button a third time to operate the door.
Read Also: Garage Door Repair Bee Cave: Fast & Reliable Service
How to Sync a Genie Wireless Keypad
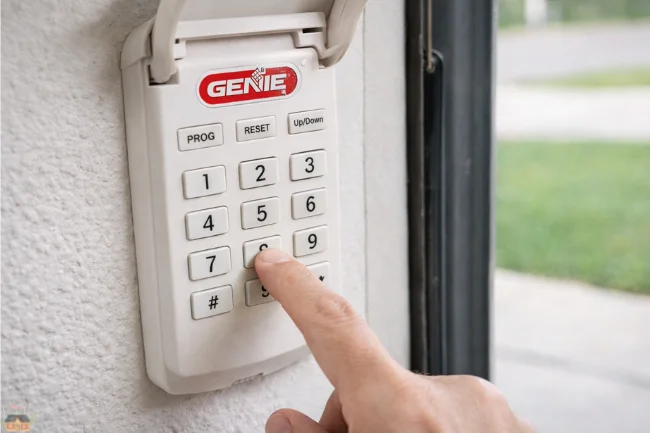
Wireless keypads are a lifesaver for kids coming home from school or for outdoor access without a key. Syncing these requires a specific sequence to ensure the PIN is stored correctly.
For Newer Keypads (White Flip Cover)
-
Reset (Optional): If the keypad is used, hold “Program” and “Up/Down” simultaneously until the backlight goes out.
-
Set PIN: Press 3-5-7, then “Program.” Enter your new 3-to-8-digit PIN and press “Program.”
-
Sync to Motor: Press the Learn Button on your garage motor until the LED blinks.
-
Pair: On the keypad, enter your PIN and press the “Up/Down” button 3 or 4 times slowly until the door moves.
Syncing Your Car (HomeLink & Car2U Systems)
Modern vehicles come with integrated buttons on the visor or rearview mirror. This is often the most difficult part of the process because it involves a “double-handshake.”
The HomeLink Process
-
Clear the Car: Hold the outer two buttons in your car until the light flashes rapidly. This clears old codes.
-
Transfer the Frequency: Hold your handheld Genie remote 2 inches from the car button. Press both the Genie remote button and the car button simultaneously. Hold until the car’s light flashes rapidly.
-
The Handshake: Now, go to the garage motor and press the Learn Code button.
-
Final Pair: Within 30 seconds, return to the car and press the programmed visor button three times (hold for 2 seconds each time).
Read Also: Bi-Fold Garage Doors – Stylish & Space-Saving Design
Advanced Troubleshooting: When the Sync Fails
If you’ve followed the steps above and the door still won’t budge, you are likely facing one of these technical hurdles:
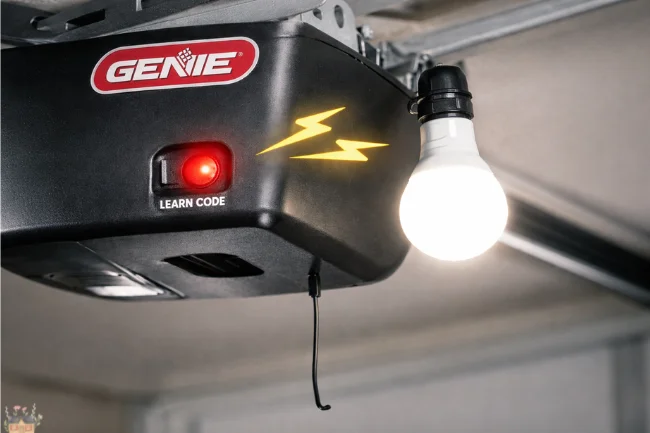
1. RF Interference (The “Silent Killer”)
Electronic devices in your garage can “drown out” the remote’s signal. LED light bulbs are a common culprit. If you recently installed LED bulbs in the opener itself, they might be emitting electromagnetic interference (EMI) that prevents the receiver from “hearing” the remote. Switch to “Garage Door Rated” LED bulbs.
2. Maximum Remote Limit
Most Genie openers can only “remember” 7 to 20 remotes/keypads. If you have synced many cars or old remotes over the years, the memory may be full.
-
The Fix: Clear the memory by holding the Learn Button for 20 seconds (until the LED goes out).
Note: This will erase all remotes, and you will have to re-sync every device you own.
3. Clear the Path
Genie’s Intellicode system requires a clear signal to verify the rolling code. Ensure the thin wire antenna hanging from the motor head is not tucked inside the metal housing or wrapped around the power cord.
Maintenance for Long-Term Sync Stability
| Task | Frequency | Benefit |
|---|---|---|
| Battery Replacement | Every 2 Years | Prevents signal drift and frustrating “ghost” openings. |
| Antenna Check | Annually | Ensures maximum range (should hang straight down and outside the motor). |
| Logic Board Dusting | Every 5 Years | Removing dust from the motor head prevents short circuits on the “Learn” button. |
Expanding Your Smart Home: Aladdin Connect
If you find traditional syncing too cumbersome, consider the Genie Aladdin Connect system. This replaces the radio-frequency “handshake” with a Wi-Fi-based cloud connection.
-
Benefits: You can “sync” guest access via an email invitation rather than sharing PIN codes.
-
Security: Receive alerts on your phone if the door is left open, and close it from anywhere in the world.
FAQ: Common Genie Syncing Questions
1. Why does my remote work from inside the garage but not from the driveway?
This is usually a sign of a weak battery or RF interference. If the battery is fresh, check for nearby electronics (like a baby monitor or a faulty microwave) that might be jamming the 315MHz or 390MHz frequency.
2. Can I sync a newer Intellicode remote to an older 9-dip switch opener?
Generally, no. Older openers use a fixed frequency that Intellicode remotes do not support. You would need to buy a “Genie Universal Remote” which specifically lists support for “Dip Switch” models.
3. How do I sync my Genie opener to my iPhone?
To sync with a smartphone, you must have an Aladdin Connect compatible motor or an external Aladdin Connect Retrofit Kit. Once installed, you download the app and scan the QR code on the device to sync.
4. What if my “Learn” button is broken?
If the physical button on the motor head is stuck or unresponsive, you can often trigger the learn mode using a wired wall console that has a “Program” button. If the logic board itself is dead, it may require a replacement.
5. Does losing power erase my synced remotes?
No. Genie openers use non-volatile memory (EEPROM) to store remote codes. Your remotes will remain synced even after a prolonged power outage.
6. How do I sync my Genie garage door opener?
Press and release the “Learn” or “Program” button on the motor head until the LED flashes, then press your remote button slowly until the door moves.
7. How to pair a Genie garage door?
Put the motor into programming mode via the “Learn” button, then activate your remote, keypad, or vehicle HomeLink system within 30 seconds to establish a secure handshake.
8. How do I sync my garage door opener?
Locate the “Learn” button on the ceiling-mounted motor, press it to enter pairing mode, and then press the desired button on your remote control twice to finalize the sync.
9. How do I put my Genie in pairing mode?
Depending on the model, press and hold either the circular “Learn Code” button or the square “Program/Set” button until the LED light begins to blink or changes color.
Final Thoughts
Mastering how to sync garage door opener Genie equipment is mostly about timing and identifying your specific model’s interface. By ensuring you have a fresh battery, a clear line of sight, and an understanding of whether you are using Intellicode I or II, you can maintain a secure and functional home.
If your opener is more than 20 years old and frequently “forgets” its programming, it may be a sign of a failing logic board capacitor. In such cases, upgrading to a modern Genie model with integrated Wi-Fi and battery backup is a wise investment for both security and peace of mind.
Learn about 3-Car Garage Dimensions
For broader information, visit Wellbeing Makeover

I’m Salman Khayam, the founder and editor of this blog, with 10 years of professional experience in Architecture, Interior Design, Home Improvement, and Real Estate. I provide expert advice and practical tips on a wide range of topics, including Solar Panel installation, Garage Solutions, Moving tips, as well as Cleaning and Pest Control, helping you create functional, stylish, and sustainable spaces that enhance your daily life.